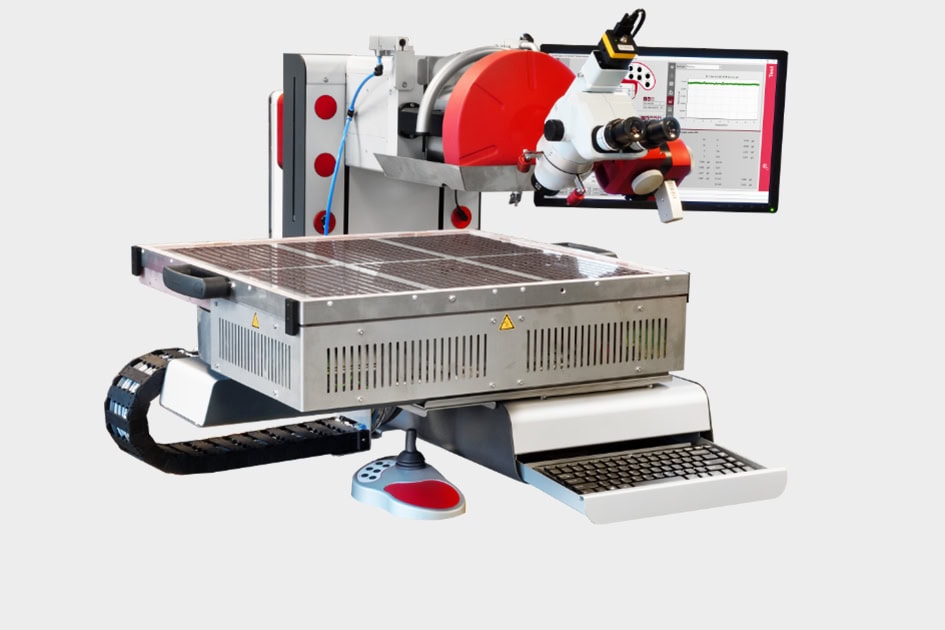
Sigma W8

Wafer
bond tester

Sigma W8

Wafer bond tester

Bond tester for wafers 4 - 8 inch

  • Bondtester for wafers or at wafer level 4” – 8” (up to 200 mm)
  • Fully automatic wafer bond tester
  • X/Y stages X: 370 mm, Y: 370 mm
  • Force range from 1 gf – 10 kgf
  • Bump pitch down to 50 µm
Sigma automation

Full automation

Sigma bond testers are modular by design and come with game-changing automation capabilities for automatic loading, testing and analyzing. The Revolving Measurement Unit (RMU) houses up to 6 sensors that enable continuous testing. The software includes vision and deep learning technology to eliminate human errors. 
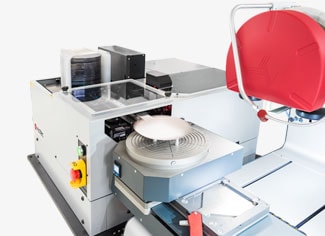
 

Wafer loader W8 1

Wafer loader

Integrate the Sigma W8 with an independent wafer (un)loader for hands-free bond testing. The wafer handler automatically loads, aligns and transfers the wafers from the cassette onto the bond tester. The cassette mapper detects empty slots and ensures safe wafer handling.

Lift pins

The system gently secures flat and warped wafers with the soft, flexible tips on the PID controlled  wafer lift pins.
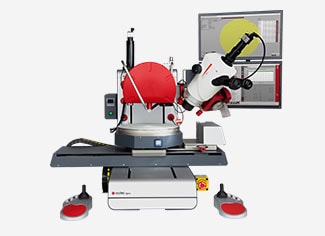
Sigma W12 2022 grey 1

Upgrade to Sigma W12

The Sigma W8 is upgradeable to the market-leading Sigma W12 bond tester, which can test wafers up to 12 inches (300 mm) fully automatically. The Sigma W12 comes with a 600 mm X stage to test bumps down to 20 µm. The upgrade possibility makes the Sigma W8 a future-proof investment.

Full automation

Eliminate human error and save production costs.

Handlers

Robotic handling ensures safe load and unload of applications and avoids handling error and damage. We offer handlers for:

  • Wafers (EFEM)
  • Waffle trays
  • Magazines

Easy programming

The open Sigma software enables easy programming of total automation steps, positions, and commands. The automation editor employs camera visualization and intelligent wizards.

Smart vision cameras

See the unseen with up to 3 live camera options. Bring out the features of interest with images or videos using high-resolution cameras, flexible LED illumination, and fantastic image processing options.

Tool alignment

Precise tool alignment is essential to test the correct bonds correctly. We offer several solutions for perfect alignment:
  • Self-aligning shear tool
  • Deep access
  • Revolving Measurement Unit
  • Concentricity correction

Fiducial recognition

Define recognizable shapes, patterns, or marks as a global or local reference for positioning and automatic tool alignment.

Wire dection

Recognition of components and fine pitch wires that are swept out of position due to process tolerances or part handling.

Grading run

A Sigma offers 2 alternatives to make grading more efficient and consistent:

  • The operator does all the gradings in one step after a sequence of tests, using the microscope or an offset camera.
  • A Sigma can take it one step further and make automatic determinations of the failure modes (auto grading).

Auto grading

Automatically grade the failure modes of the test result images with grading assistance. Optical inspection calculates the area of bulk material remaining as a percentage of the whole.

Image measurement (AOI)

Detailed optical inspection helps you to perform image measurements or to identify the failure modes of the captured test results. For more advanced image processing, filtering, segmentation, and detection of shapes, you can use Automated Optical Inspection (AOI).

Data export

Improve data processing using automatic export and SECS/GEM for tracking and control.
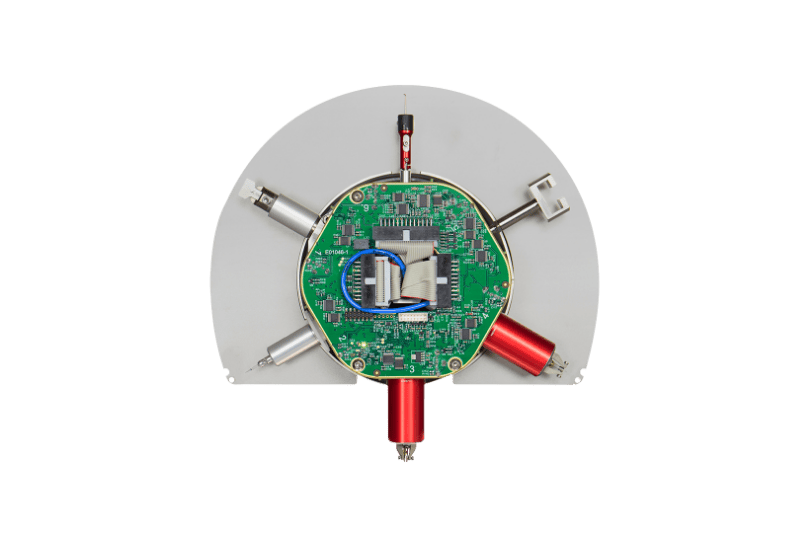
IMG 3865

No more cartridge
exchanges

The Revolving Measurement Unit (RMU) houses up to 6 flexible sensors that are configurable with various pull, peel, push, or shear tools. This enables continuous testing up to 200 kgf.

IMG 3865

No more cartridge
exchanges

The Revolving Measurement Unit (RMU) houses up to 6 flexible sensors that are configurable with various pull, peel, push, or shear tools. This enables continuous testing up to 200 kgf.

Nano-precise
shear height control

The nano control shear sensor has a unique drive with a closed control loop within the shear sensor body. It improves the accuracy and stability of the shear height with a precision of 200 nm when testing critical applications such as wafer-level, coating, and lead frames.
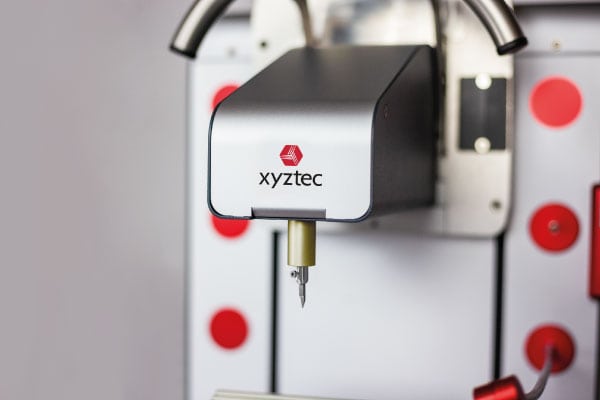
Nano control shear sensor SMU
Tools

Control your alignment

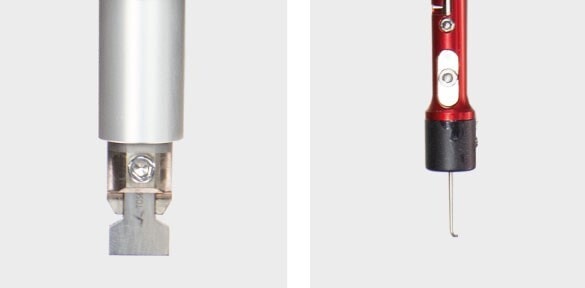
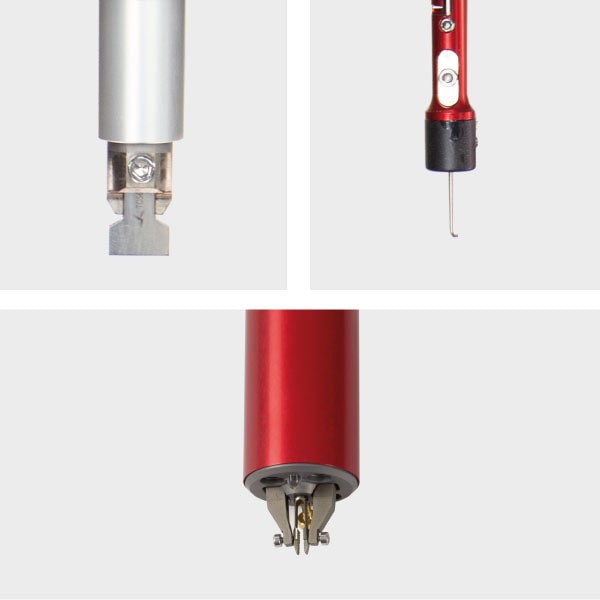
Multiple ways to test, requires for different test tools. Besides a wide range of standard pull, peel, push or shear tools we design custom solutions to fulfill all test requirements.

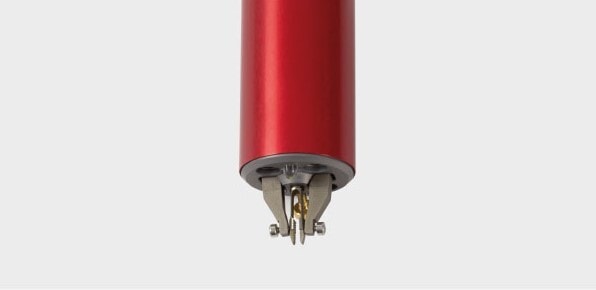
Tweezers

You can control the gripping force and the opening and closing position. There is a choice of 3 types of tweezers:
  • Electric (USB)
  • Mechanical
  • Pneumatic

Control your alignment

Multiple ways to test, requires for different test tools. Besides a wide range of standard pull, peel, push or shear tools we design custom solutions to fulfill all test requirements.
Tools Top
Tools Bottom

Tweezers

You can control the gripping force and the opening and closing position. There is a choice of 3 types of tweezers:
  • Electric (USB)
  • Mechanical
  • Pneumatic
Tools Bottom
Tools

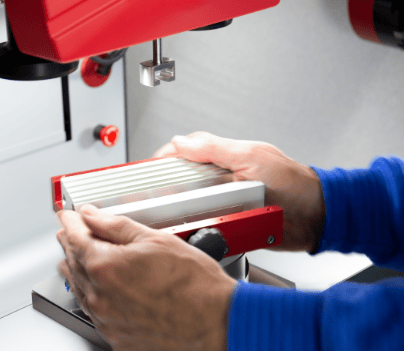
Your sample fits, too!

  • Quick release work holders: Wide selection and customized clamping solutions
  • Maximize your throughput: High axis speed, direct-drive motor, linear encoders
  • Accurate alignment: Secure lock maintains reproducible positioning
Hands
Hands
Hands

Your sample fits, too!

  • Quick release work holders   
  • Maximize your throughput    
  • Accurate alignment
  • Wide selection and customized clamping solutions
  • High axis speed, direct-drive motor, linear encoders
  • Secure lock maintains reproducable positioning
Machine 2
sigma nadine@3x Grey

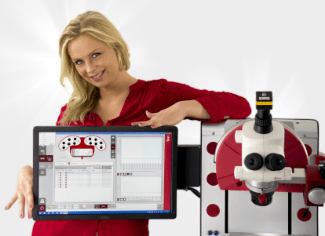
A pleasure to set up

  • Easy sample access
  • Flexible LED lighting options
  • Designed with the operators in mind
  • Adjustable microscope
  • No stress working conditions
img 3366@3x

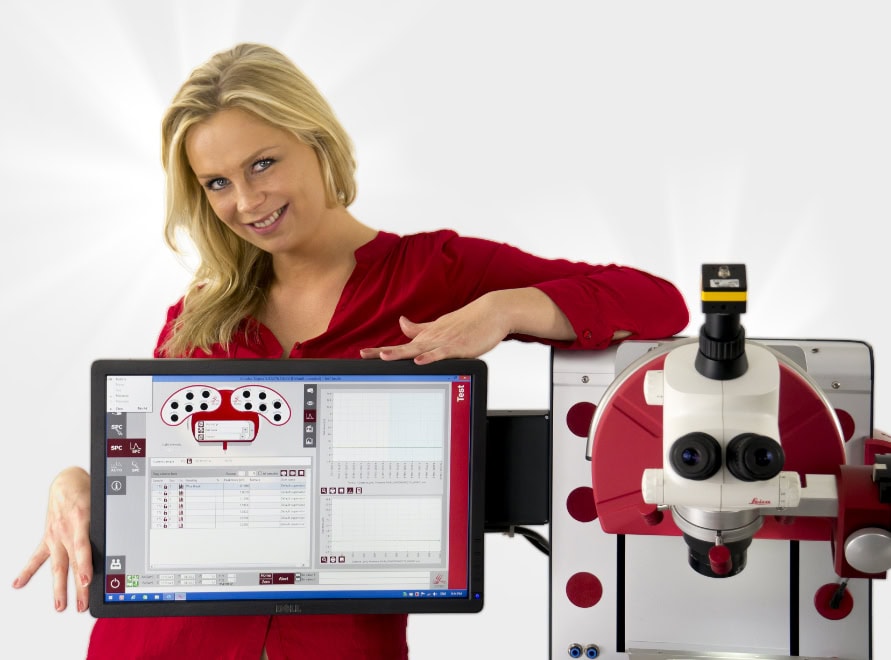
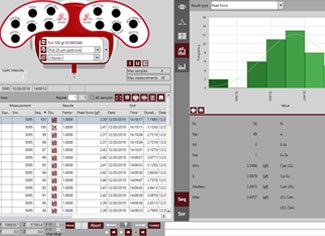
Easy to use for everyone

  • Flexible on-board Statistical Process Control (SPC) analysis
  • Unique form features for SPC management
  • Software has Easy and Expert modes
  • Control chart and real-time force graphs
  • Flexible export and SECS/GEM
Machine
sigma w 12 heated stage v@3x Grey

Modular by design

  • Customized tools and work holders
  • Operator free loading options
  • Powerful camera options
Machine 2

A pleasure to
set up

  • Easy sample access
  • Flexible LED lighting options
  • Designed with the operators in mind
  • Adjustable microscope
  • No stress working conditions
SPC screen

Easy to use
for everyone

  • Flexible on-board Statistical Process Control (SPC) analysis
  • Unique form features for SPC management
  • Software has Easy and Expert modes
  • Control chart and real-time force graphs
  • Flexible export and SECS/GEM
Machine

Modular by
design

  • Customized tools and work holders
  • Operator free loading options
  • Powerful camera options

Specifications Sigma W8

STAGESSIGMA W8
X-stage (mm)370
Y-stage (mm)370
Z-stage (mm)168
Axis speed (mm/s)50
Resolution linear encoders (backlash free drives) (nm)30
Digital temperature correctionStandard
ACCURACY
Accuracy (%)0.075
ADC resolution (bit)24
Sampling frequency (kHz)10
Shear height (step back) accuracy ±1 μmStandard
Programmable landing force down to 5 gfStandard
MECHANICAL
Footprint X (mm)620
Footprint Y (mm)935
Height (mm)608
Weight (± kg)100

Please contact us for more information and options for your factory. Specifications are subject to change without prior notice.

   Standard
   Optional
   Not available 

Search

Follow us on: 

© 2023 xyztec b.v.

Contact Us

Tom Haley