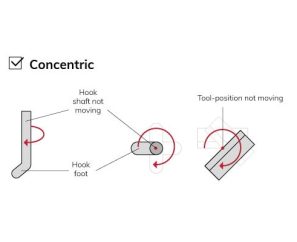
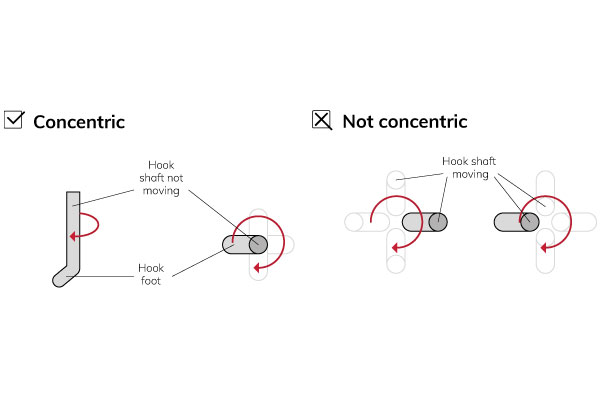
Even using the best production methods for sensors and tools, tolerance buildups are unavoidable. This can create tool concentricity imperfections. Nonconcentric tools can be a problem during automatic testing or testing narrow applications. In wire pull, hook concentricity is essential to ensure testing only the correct wire and avoid simultaneously pulling multiple wires.
A Sigma bond tester comes with a software correction wizard to compensate for the tolerances and the concentricity during tool rotations for shear and pull tools. The software correction keeps the tool position constant when rotating, which is more consistent and accurate and can achieve eccentricities less than 5 µm.
What is a concentric tool?
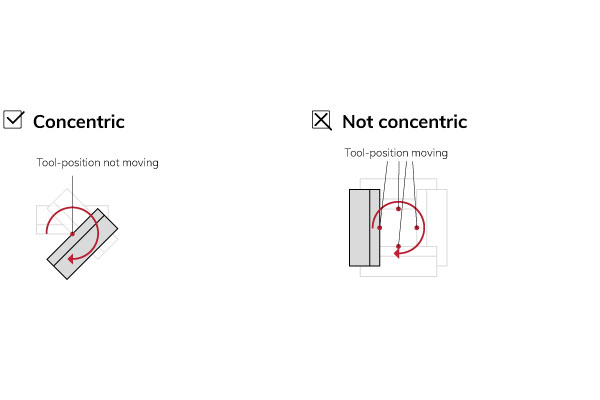
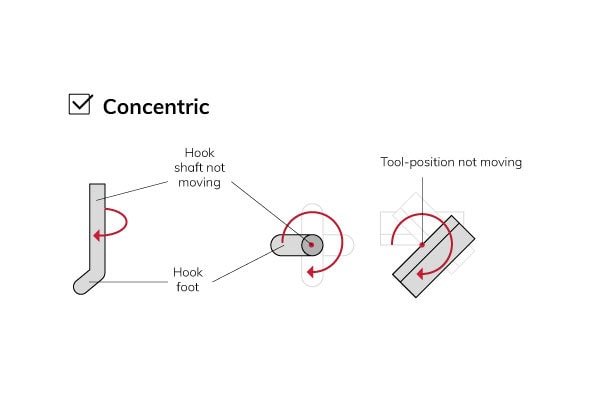
A concentric tool is one where the middle of the tool (tool-position) remains in its position during tool rotations.
Generally, the tool-position is not perfectly concentric and describes a circular pattern while rotating the tool. The tool eccentricity indicates an offset between a perfectly aligned tool and the actual positions when rotating. Software correction can compensate for this offset and correct the concentricity to ensure the tool-position meets the center when a tool rotates.
Easy wizard to set up software correction
There are 3 ways to set up the concentricity correction in the software sensor settings using an easy wizard and cameras. The wizard helps determine the tool dimensions and tool-position and measures the correction factor to compensate for the tolerances.
Manual alignment
Position the tool on a sharp corner or clear mark on the substrate to reach any rotation. Center the tool on the mark in 2 rotations on 0° and 90°. The software calculates the correction factors to set the concentricity correction.
Manual alignment is the most common solution for the Sigma HF/L. The 360° test head on a Sigma HF/L comes with 2 tool cameras that rotate along with the tool to ease the setup.
With imprint
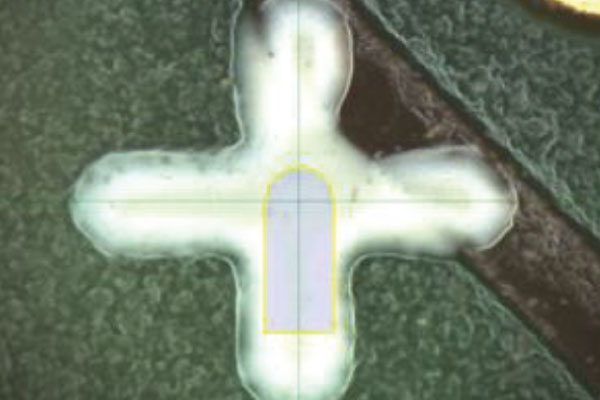
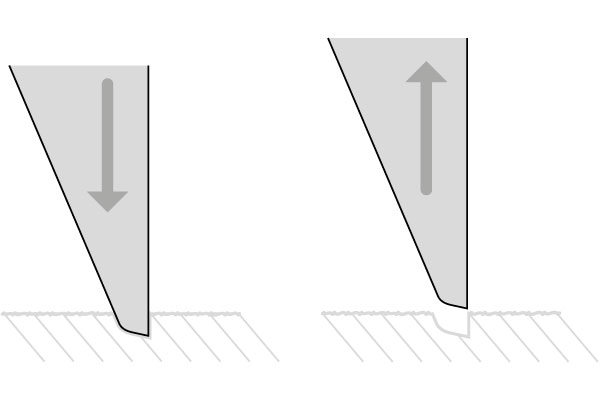
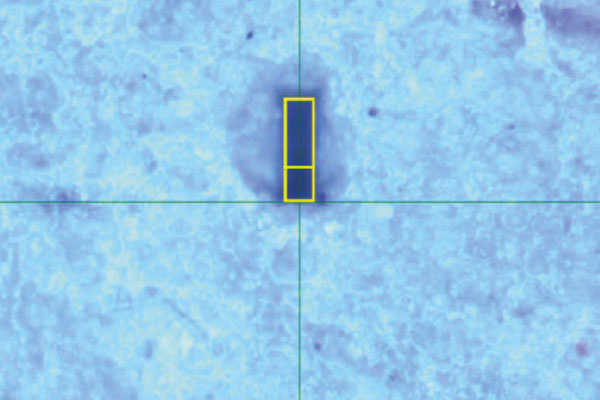
An ideal and fast solution for shear tools is to create 2 clear imprints in soft clay to measure the tool concentricity. Manually align the virtual tool under the camera to match the tool-position with the imprints. The software calculates the correction factor.
Vision assisted correction
This option requires no manual overlay positioning but uses machine vision software to detect the imprint positions. Use the wizard to set the pad size, angle, start position, and distances between imprints. The Sigma automatically determines the correction factor.
Mechanically hook concentricity for wire pull
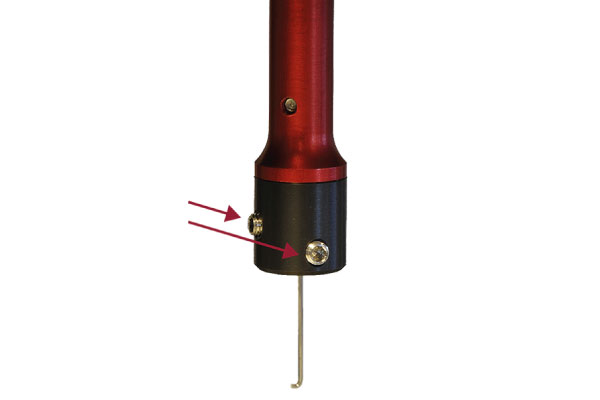
Mechanical adjustment is the best way to fix hook concentricity in a few minutes. Use the correction screws on the tool holder to adjust and center the hook with an Allen key. Align the hook’s shaft to a reference line and adjust the screws correctly in both axes of rotation until it is centrish. The hook shaft will not move during tool rotations anymore, and it is concentric.
