
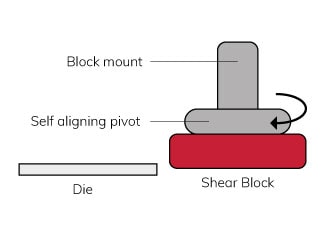
Precise tool alignment is essential to test the correct bonds correctly. Concentricity correction achieves tool eccentricities less than 5 µm, and unique tool designs can be of help during alignment.
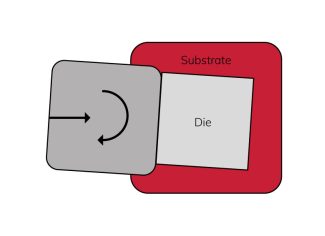
We offer solutions in customized hook foot lengths or a self-aligning shear tool, which corrects for any tiny but important angular difference between tool and sample.
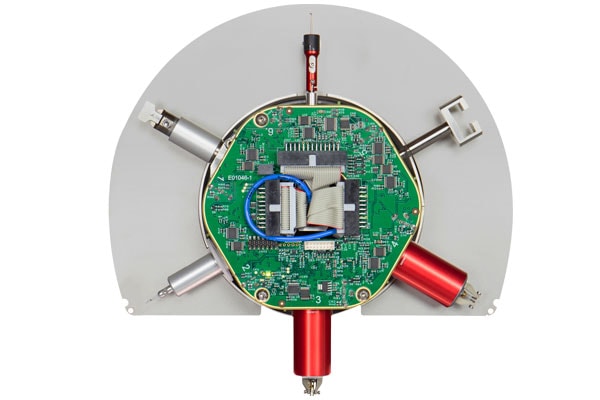
Using the camera and deep access tooling allows you to test complex sample architecture. And you can easily switch between different tools in seconds with our unique rotating 6-in-1 test head RMU.
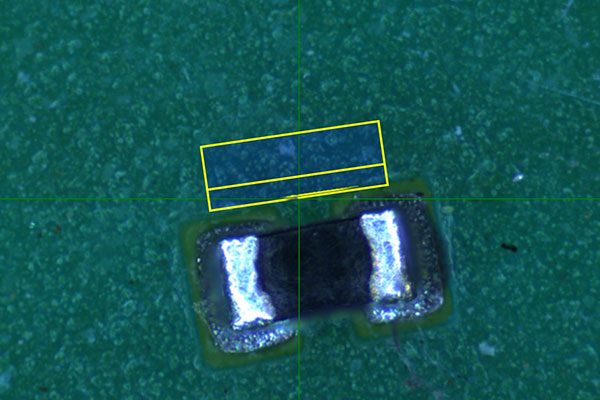
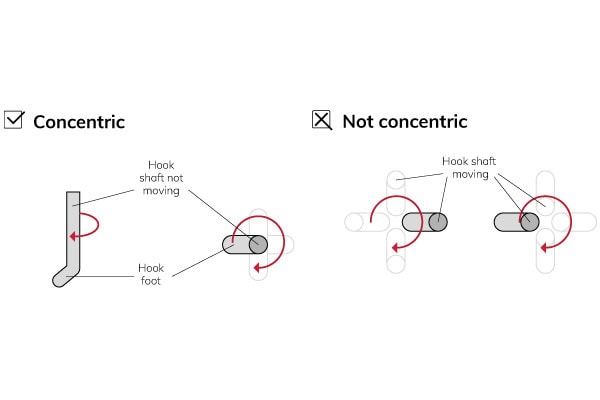
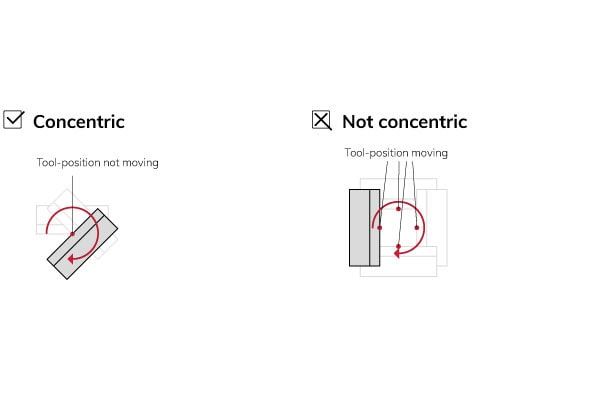
Tolerances in the production process of both the sensors and the tools can create a concentricity offset. The Sigma software compensates this offset and corrects the concentricity to ensure the tool-position meets the center when a tool rotates.
There are 3 ways to compensate the tolerances and concentricity for shear and pull tools using the software correction wizard:
Software correction is more consistent and more accurate to achieve eccentricities less than 5 µm. However, mechanical adjustment is the best way to fix wire hook concentricity.
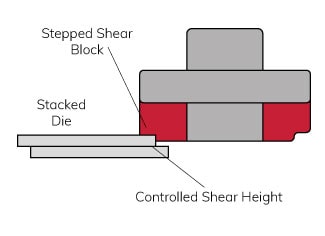
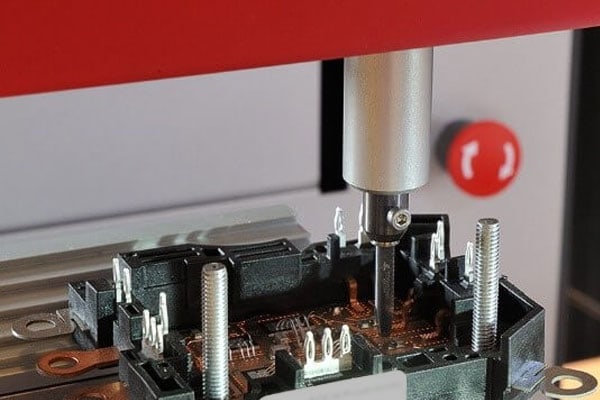
When parts of the sample obstruct optical access from microscope to test point, special deep access tooling and flexible cameras enable testing of complex sample architectures. The standard Sigma and the floor standing HF offer 50 mm and 80 mm of deep access, respectively, maintaining clear visual access too.
Quickly and easily select the correct tool from the Revolving Measurement Unit (RMU). The RMU switches between 6 housed sensors and goes to a maximum of 200 kgf. Any combination of pull, push, and shear sensors, including USB Tweezers is possible.
J.F. Kennedylaan 14b
5981 XC
Panningen
The Netherlands
Am Haupttor / Bürocenter
06237
Leuna
Germany
27182 Burbank
Foothill Ranch
CA 92610
United States
72/7 M.12 Soi. Soonthornwipak
Bangpla, Bangphli,
10540 Samut Prakan
Thailand
No. 157, Zhongzheng
6th St., Hukou
Township, Hsinchu
County 303,
Taiwan (R.O.C.)
Room 2012
Haichuang Mansion,
No.288 Dengyun Road,
High-tech district, Kunshan,
Jiang Su, China
Xyztec develops world-class bond testing technologies and works together with global partners to provide local support worldwide.
J.F. Kennedylaan 14b
5981 XC
Panningen
The Netherlands

Herbert Stuermann