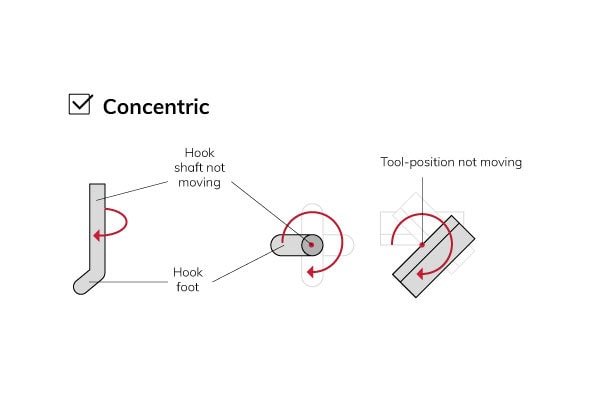
Even using the best production methods for sensors and tools, tolerance buildups are unavoidable. This can create tool concentricity imperfections. Nonconcentric tools can be a problem during automatic testing or testing narrow applications. In wire pull, hook concentricity is essential to ensure testing only the correct wire and avoid simultaneously pulling multiple wires.
A Sigma bond tester comes with a software correction wizard to compensate for the tolerances and the concentricity during tool rotations for shear and pull tools. The software correction keeps the tool position constant when rotating, which is more consistent and accurate and can achieve eccentricities less than 5 µm.
Easy wizard to set up tool concentricity correction
There are 3 ways to set up the concentricity correction in the software sensor settings using an easy wizard and cameras. The wizard helps determine the tool dimensions and tool-position and measures the correction factor to compensate for the tolerances.
Manual alignment
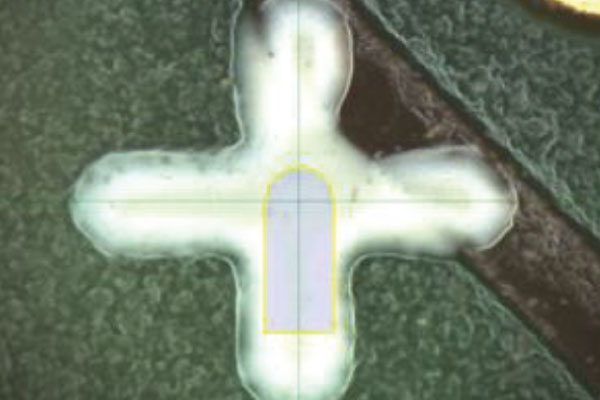
Position the tool on a sharp corner or clear mark on the substrate to reach any rotation. Center the tool on the mark in 2 rotations on 0° and 90°. The software calculates the correction factors to set the concentricity correction.

With imprint
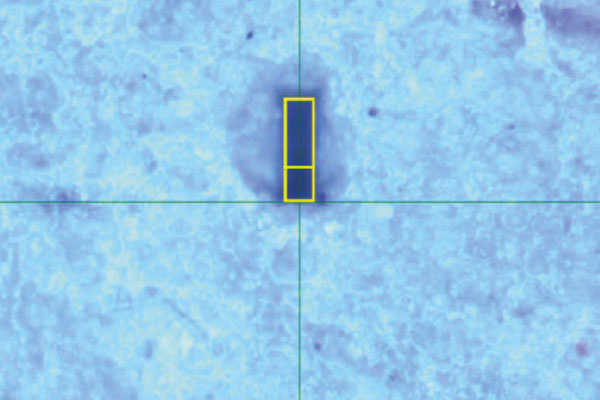
An ideal and fast solution for shear tools is to create 2 clear imprints in soft clay to measure the tool concentricity. Manually align the virtual tool under the camera to match the tool-position with the imprints. The software calculates the correction factor.

Vision assisted correction
This option requires no manual overlay positioning but uses machine vision software to detect the imprint positions. Use the wizard to set the pad size, angle, start position, and distances between imprints. The Sigma automatically determines the correction factor.

Game-changing automation capabilities
Software concentricity correction is just one of many automation options a Sigma has to offer. Eliminate human error and save production costs with our automation capabilities for loading, testing, and analyzing.
Automatic loading
- Robotic handling ensures safe load and unload of applications and avoids handling errors and damage. We offer handlers for Wafers (EFEM), waffle trays and Magazines.
Automatic testing
- Easy programming of test sequences from the camera with the automation editor. Options for matrix selection, wafer map import, and forms.
- Bring out the features of interest using a downward-looking, side view, or trinocular camera, flexible illumination, and image processing.
- Tool alignment solutions for concentric and self-aligning tools, or customized hook foot lengths to test complex samples.
- Define recognizable shapes, patterns, or marks as a global or local reference using fiducial recognition for easy programming and automation.
- Wire detection recognizes components and fine pitch wires that are swept out of position due to process tolerances or part handling.
Automatic analyzing
- Evaluate the measurement results with an efficient grading run. A Sigma can also automatically determine failure modes with auto-grading.
- An optical inspection does the grading automatically and calculates the area of bulk material remaining as a percentage of the whole.
- Measurement of a distance, length, width, height, or area in a captured image. Optional with AOI for filtering, segmentation, shape detection.
- Automatically store reports after measurements. We support data export to file, serial port, clipboard, and other protocols such as SECS/GEM.

Join our team!
Research Engineer – full time
Xyztec is looking for a Research Engineer in the short term to strengthen our team. Can you translate customer wishes into concepts? Do you strive to improve and further develop existing and new systems? Respond to this position now and contribute to the development of high-tech equipment for the major players in the semiconductor and automotive industry.


